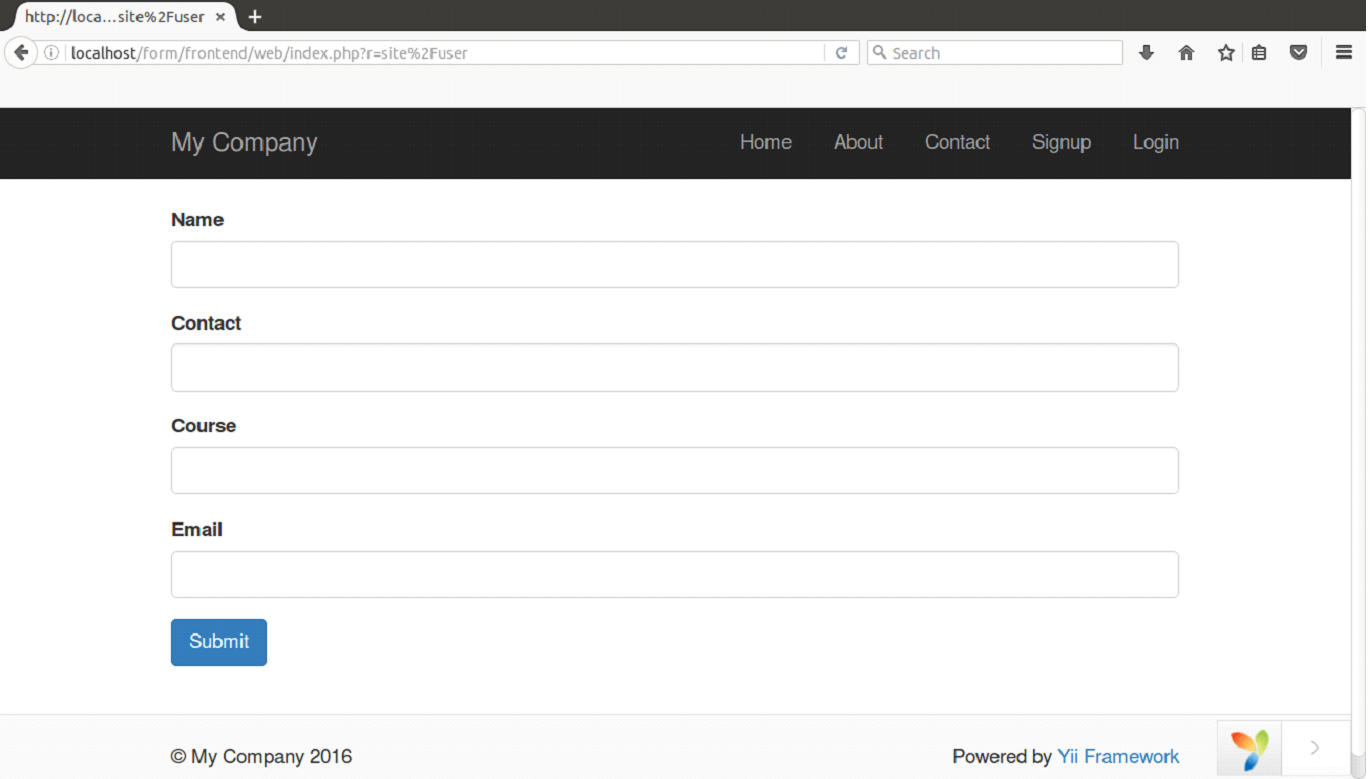
We'll create a form to get the data from users.
In our form, we'll create four input fields for name, contact, course and email. Page will display the entered values back.
Step 1 Create Model file UserForm.php
Here we'll create a model file to request data from the user in models/UserForm.php.
- <?php
-
- namespace frontend\models;
-
- use Yii;
- use yii\base\Model;
-
- class UserForm extends Model
- {
- public $name;
- public $contact;
- public $course;
- public $email;
-
- public function rules()
- {
- return [
- [['name', 'contact', 'course', 'email'], 'required'],
- ['email', 'email'],
- ];
- }
- }
Look at the above code, the function rules() is set to validate data from users.
Step 2 Create Action
In the controllers/SiteController.php, we'll create an action user.
- <?php
- namespace frontend\controllers;
-
- use Yii;
- use yii\base\InvalidParamException;
- use yii\web\BadRequestHttpException;
- use yii\web\Controller;
- use yii\filters\VerbFilter;
- use yii\filters\AccessControl;
- use common\models\LoginForm;
- use frontend\models\PasswordResetRequestForm;
- use frontend\models\ResetPasswordForm;
- use frontend\models\SignupForm;
- use frontend\models\ContactForm;
- use frontend\models\UserForm;
-
-
-
- class SiteController extends Controller
- {
-
-
-
- public function actionUser()
- {
- $model = new UserForm();
-
- if ($model->load(Yii::$app->request->post()) && $model->validate()) {
-
-
-
-
- return $this->render('user-confirm', ['model' => $model]);
- } else {
-
- return $this->render('user', ['model' => $model]);
- }
- }
Look at the above code, action receives the data from the $_POST method provided by the users. The action validate() will make sure that entered data is valid.
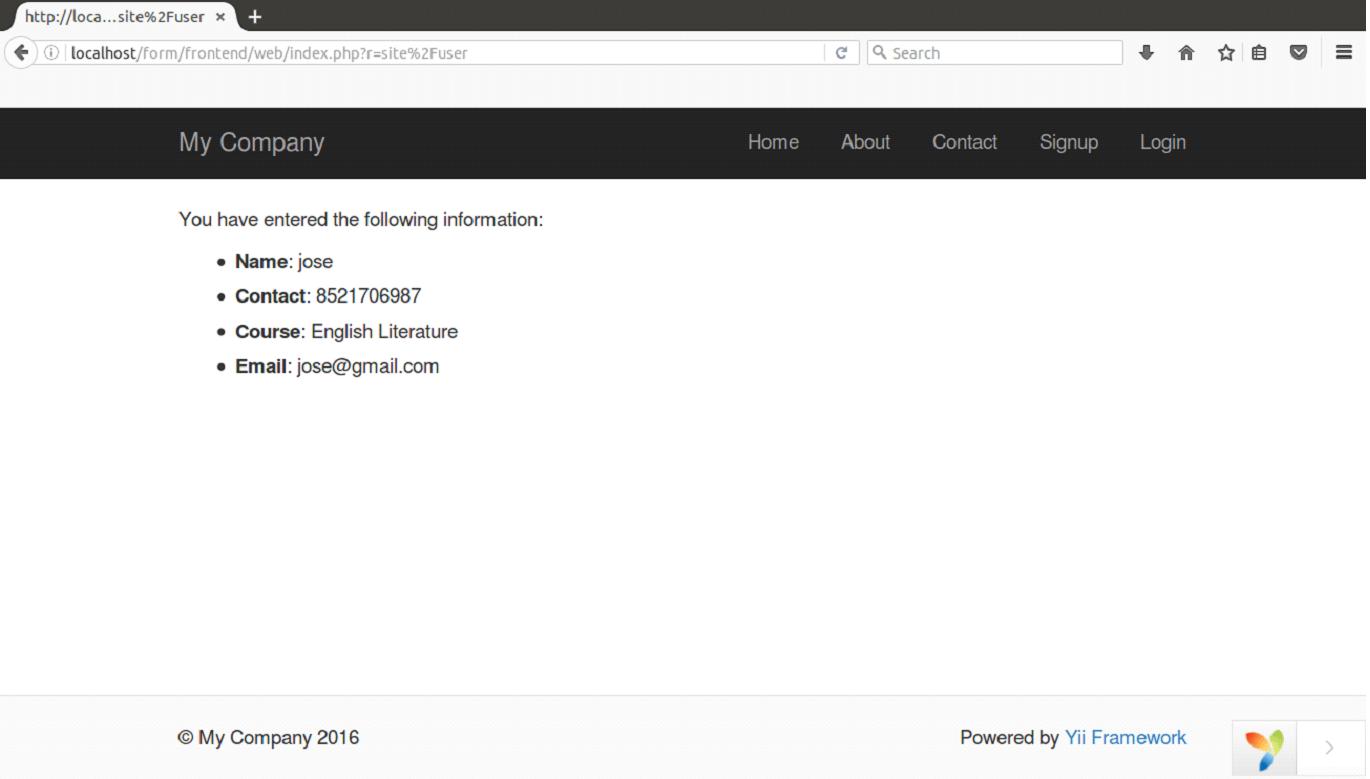
If data is valid, then action will render to the view page user-confirm to confirm the submission. Otherwise, it will go to else part, stating error in the validation.
Step 3 Create views
Two files in the view directory will be created.
One is user-confirm.php file in views/site/user-confirm.php.
- <?php
- use yii\helpers\Html;
- ?>
- <p>You have entered the following information:</p>
- <ul>
- <li><label>Name</label>: <?= Html::encode($model->name) ?></li>
- <li><label>Contact</label>: <?= Html::encode($model->contact) ?></li>
- <li><label>Course</label>: <?= Html::encode($model->course) ?></li>
- <li><label>Email</label>: <?= Html::encode($model->email) ?></li>
- </ul>
Other is user.php file in views/site/user.php.
- <?php
- use yii\helpers\Html;
- use yii\widgets\ActiveForm;
- ?>
- <?php $form = ActiveForm::begin(); ?>
-
- <?= $form->field($model, 'name') ?>
-
- <?= $form->field($model, 'contact') ?>
-
- <?= $form->field($model, 'course') ?>
-
- <?= $form->field($model, 'email') ?>
-
- <div class="form-group">
- <?= Html::submitButton('Submit', ['class' => 'btn btn-primary']) ?>
- </div>
-
- <?php ActiveForm::end(); ?>
Look at the above code, the ActiveForm widget is used to create the HTML form. The begin() and end() widgets represents the opening and closing tags of HTML form respectively.
Step 4 Running on Browser
Type the following URL in your browser to run the form,
http://localhost/form/frontend/web/index.php?r=site%2Fuser

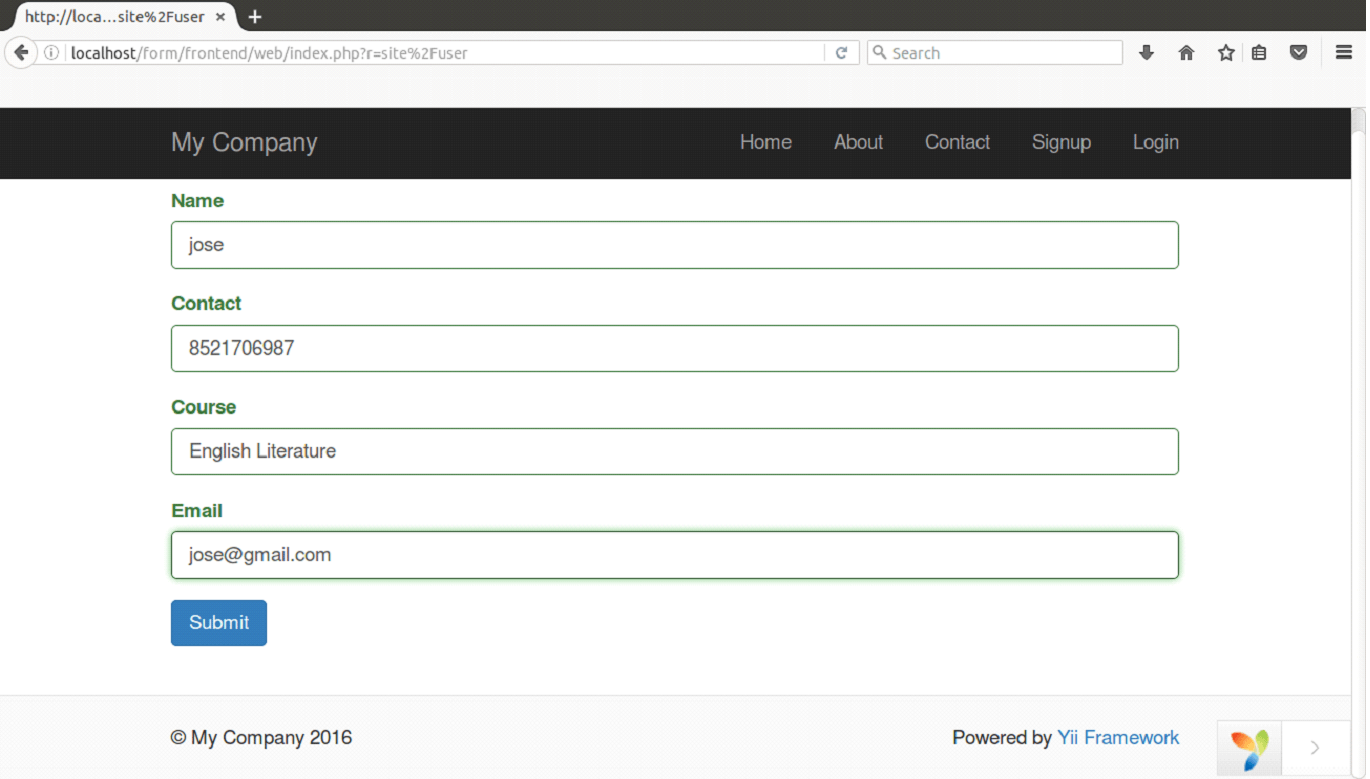
Now we'll fill the details in the above form.

On clicking the Submit button, we'll see the validated information.


0 Comments