


Supported file types for attachments in the Smartsheet
There are various
files types that support attachments in the Smartsheet:
|
File Type |
Examples of Extensions |
|
Microsoft Office Suite |
.pptx, .xlsx, .docx |
|
Most Image Formats |
.png, .gif, .jpg |
|
Portable Document Format |
.pdf |
Supported Browsers and Uploaded Quantities
- At a time, we can upload 100 files. In the Smartsheet,
there is no limit of file attachment. We can attach any number of files on
a row or sheet. But there is a restriction on the amount of the storage
space.
- If a browser support HTML 5, we can only upload that
type of files which are having the size more than the 30 MB.
Unsupported
File Types
Due to some security
issues, Smartsheet does not support some types of files. For example: In the
Smartsheet, we cannot upload the .exe file (executable file).
Maximum
file sizes based on the user and method of upload
|
User or type of Upload |
Maximum File Size |
|
Anyone uploading files from a Smartsheet
form |
30 MB |
|
Free User |
250 MB |
|
Trail User |
30 MB |
|
Licensed User |
250 MB |
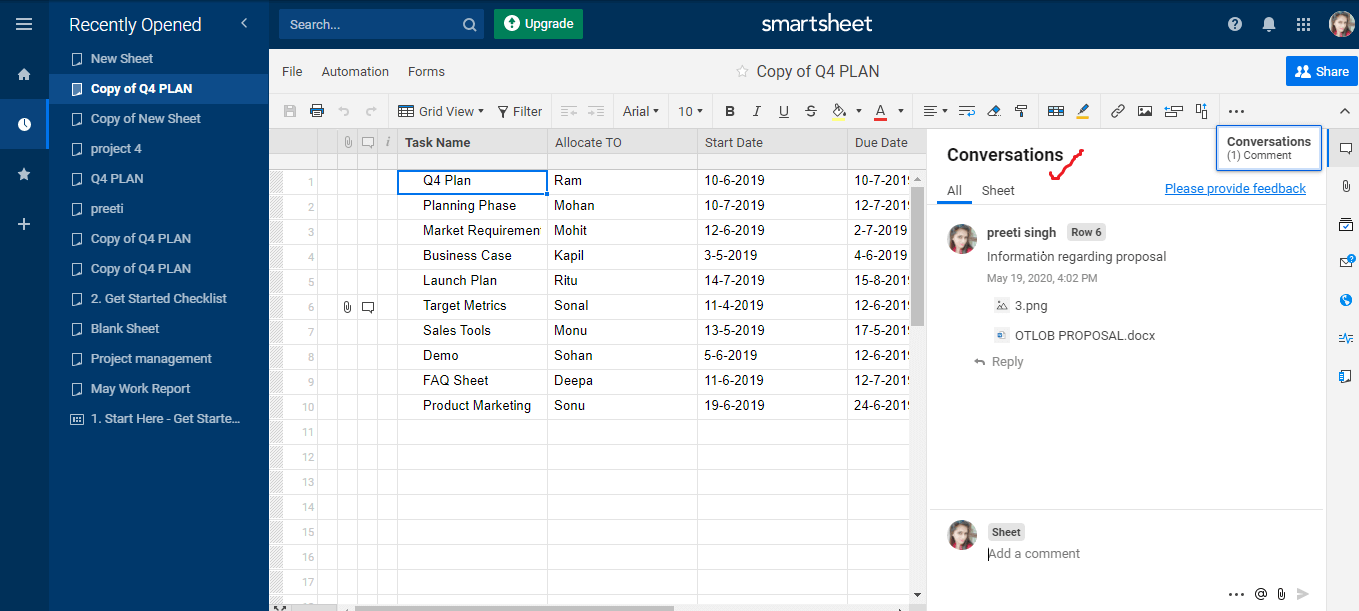
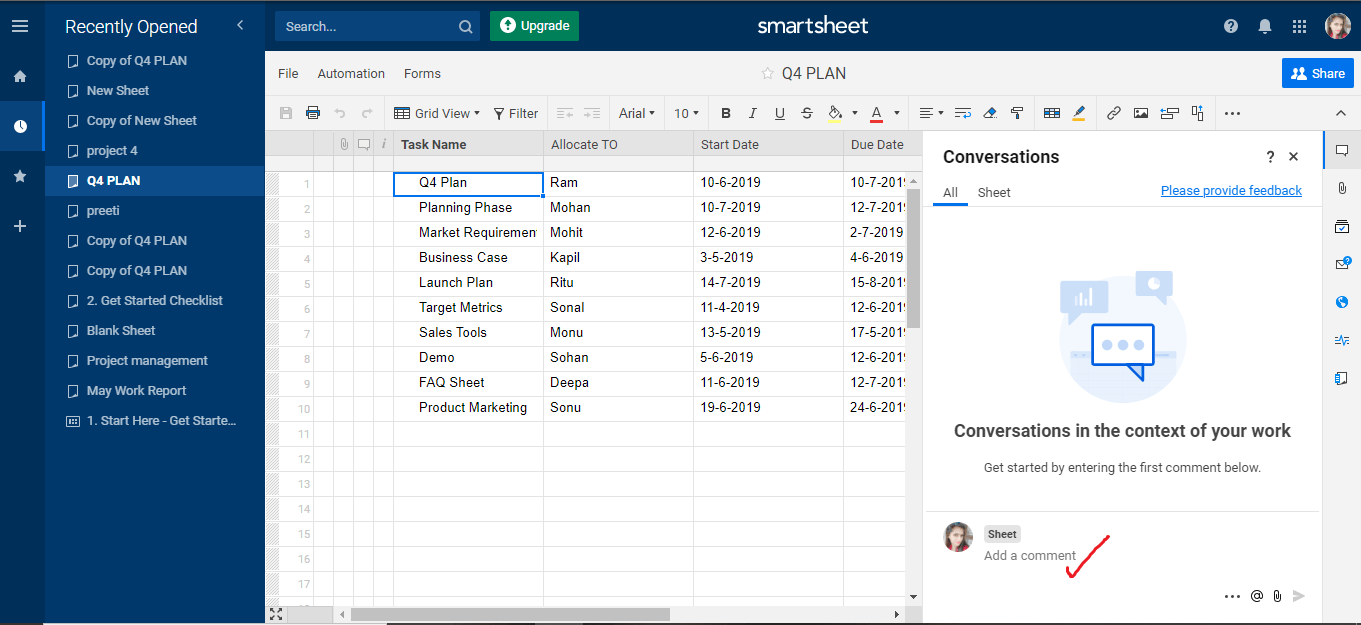
Conversations
in Smartsheet
Smartsheet offers a
wonderful feature of conversations. With the help of the conversation feature,
we can easily manage our work, and it provides effective communication among
all the collaborators regarding the work.
By using @mention,
user can directly reply from the mail. This saves time because there is no need
to switch between the apps.
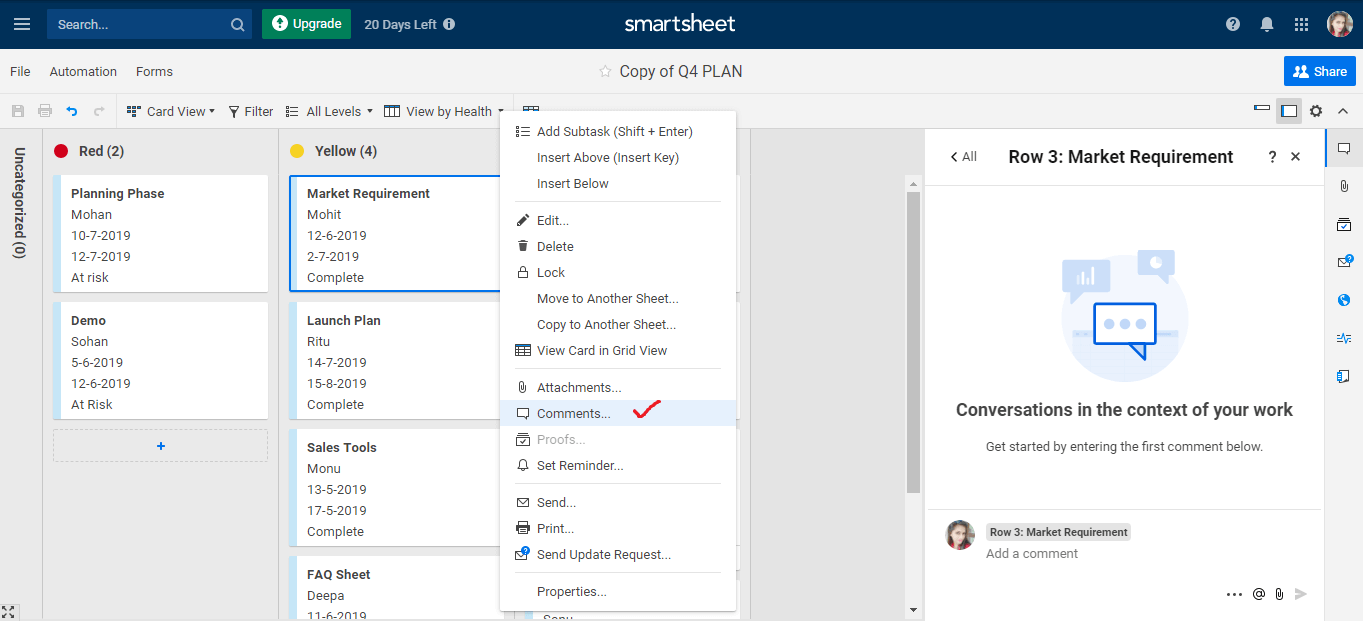
Having Conversations in the Context of Your Work
Conversations provide easy tracking of the work and discussion regarding work can also be done in one place. We can apply conversations to a particular row or to the whole sheet based on the requirement. In the conversation panel, we can work with comments.
If we want to make direct comments to a particular person, then we have to type the @<email address> (for example, @javatpoint.com) in the comment section to tag the person.
Interaction with Comments in a Sheet
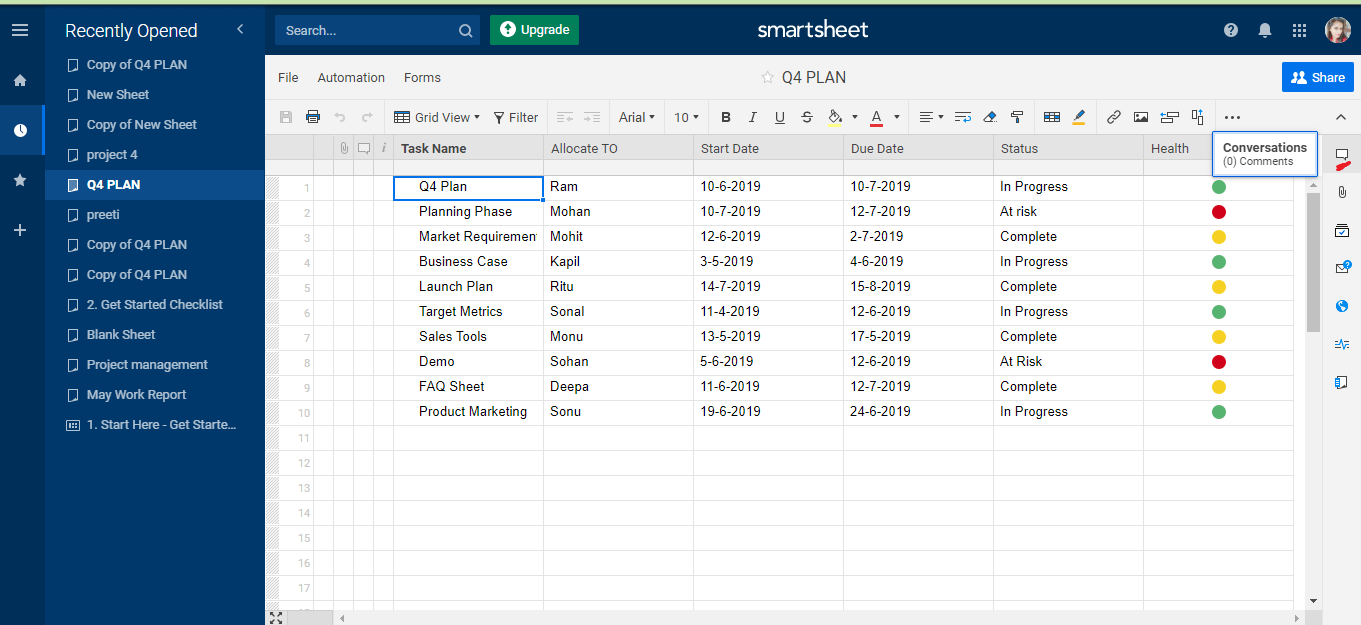
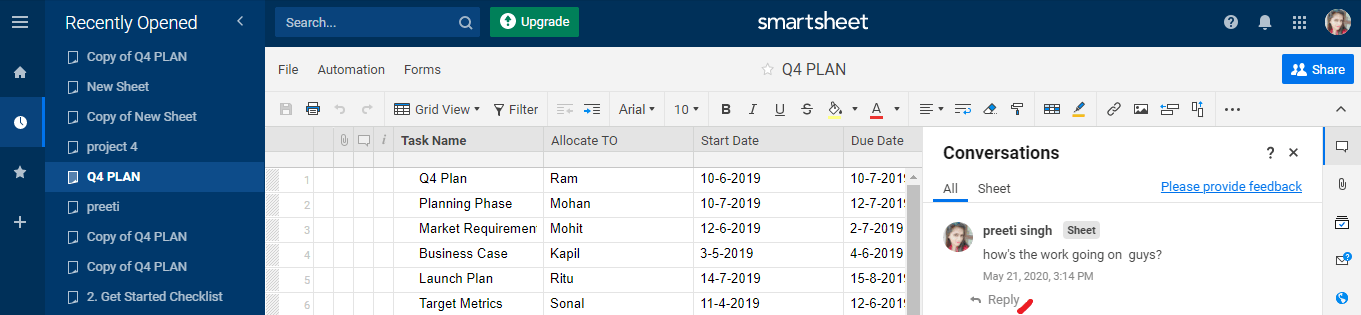
In the Smartsheet, all the comments for the sheets, rows, and cards are available in the conversation panel. If we want to review the conversation, we have to click on the conversation icon, which is present in the right panel.
In the conversations, all the comments appear chronologically on the basis of the date.
There are various tips which we have to keep in mind while working with the comments:
- If we want to view the different collection of comments, then click on All, which is present at the top of the panel. If we want to display only those comments, which are applied to the whole sheet, then we click on the sheet.
- If we want to go on that row where the comment was made, first, we have to click on the row number and click on that person's name who wrote the comment in the conversation panel.
Create a New Comment for a Row (Grid View or a Card View)
- If we want to write a comment for any row, then in the comment column of the row, we have to click on the Add a comment
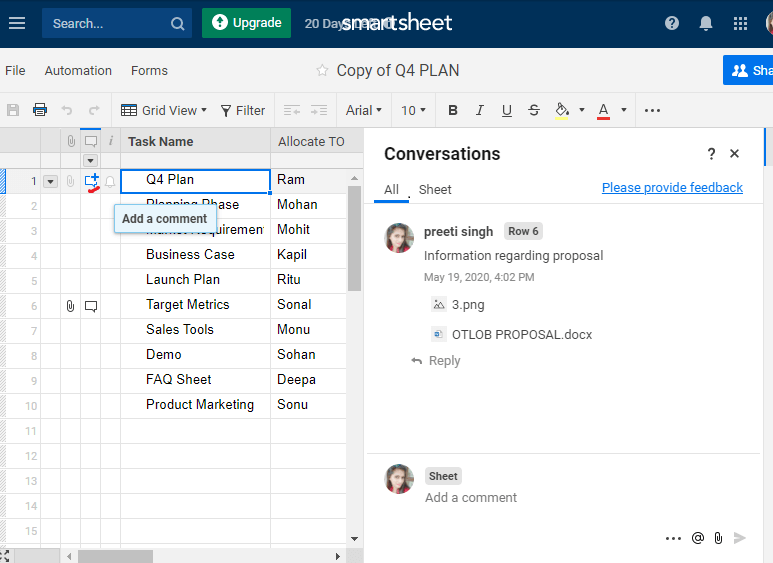
- If we want to write a comment for a specific card, then we have to right-click on the card and then click on the comments option.
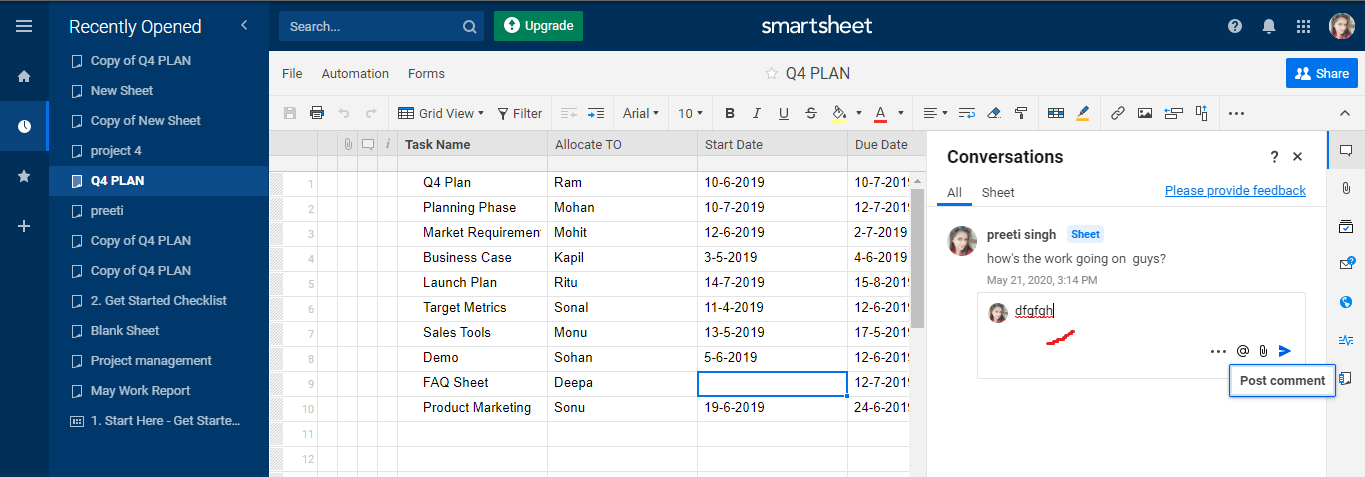
Creating a New Comment applied to the Entire Sheet
When we want to require a general conversation related to the sheet, and then we use sheet comments. It is not for a specific row but we use it for an entire sheet.
There are various steps to create a new comment on the entire sheet:
Step 1. First, click on the conversation's icon, which is in the right panel.
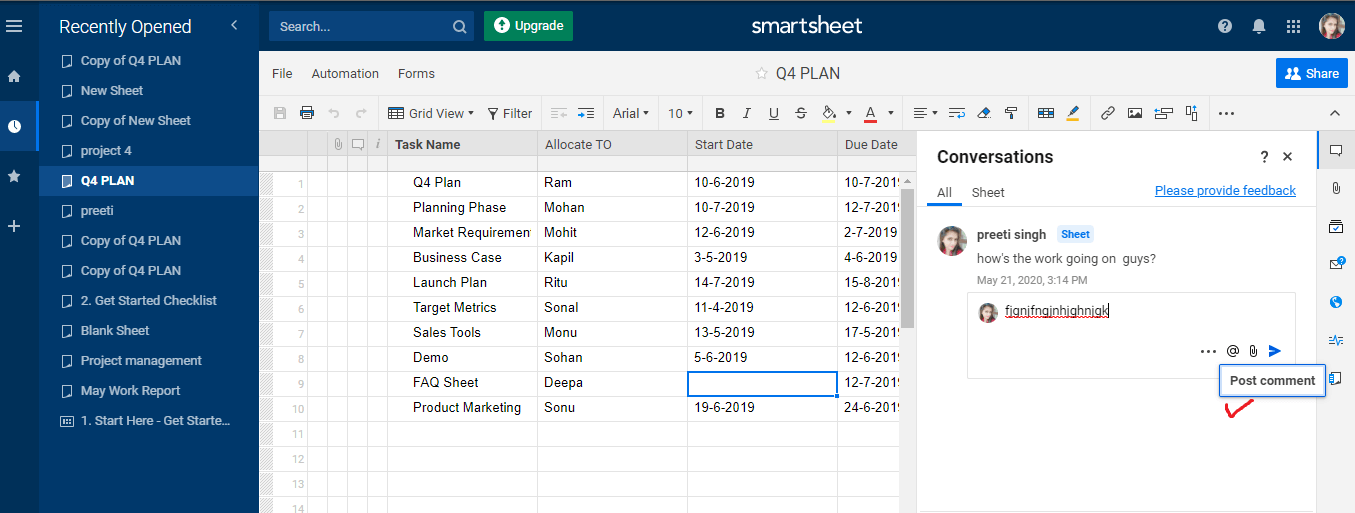
Step 2. Next, type the comment in the add a comment box.
Step 3. Last, click on the option named post comment and then press enter.

How to Reply an Existing Comment
There are various steps which we have to perform to reply an existing comment:
Step 1. Click on the Reply option in the conversation panel.
Step 2. Then, type a reply in the reply box.
Step 3. Last, click on the post comment icon.
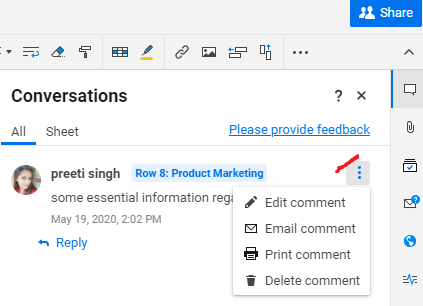
Edit, E-mail, Print or Delete a Comment
If we want to edit, email, print, or delete a comment, then click on the More Options icons, which is on the right side of the conversation panel.
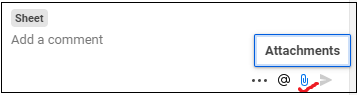
Use File Attachments to Give Context to Comments
If we want to give some additional context to comment, then we can add some attachments along with the comment. To add an attachment to the comment, click on the icon named Attachments. The Attachment icon is present at the lowermost side of the add comment box.
Remove Attachments from a Comment
There are various steps to remove an attachment from a comment:
Step 1. First, from the comment which contains an attachment, click on the menu icon, present in the right of the conversation panel, and then select the option named edit comment.
Step 2. Next, we have to move the mouse over the attachment and then click on the Delete option so that the file is deleted.
Step 3. Last, we have to click on the save option so that the changes are saved.
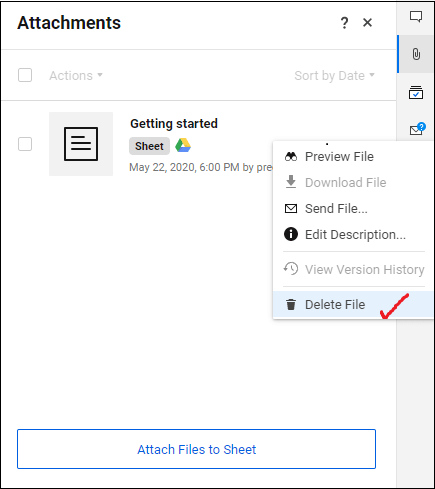
How to Delete a File Attached to a Comment
We cannot delete the files that are attached to a comment from the attachments panel. If we want to delete the file, we only have one option: we have to delete the file from the comment itself, or we can delete that comment in which the file is attached.
0 Comments