


Sharing in Smartsheet
Sharing is the core feature of the Smartsheet. With the help of sharing, all the information is shared among all the collaborators effectively. In the Smartsheet, we can easily share the entire sheet, or some part of the sheet. In addition to that, we can also set some permissions or restrictions on the sheet so that we can control the sharing of the sheet. Smartsheet provides quick and easy collaboration.
Share a Smartsheet Item
There are various steps to share a Smartsheet item:
Step 1. First, click on the share button, which is at the top of the item.

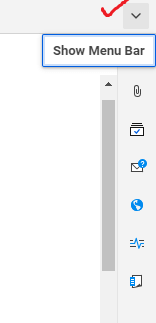
If the share button does not appear, then click on the drop-down arrow, which is present on the right side of the Smartsheet window.
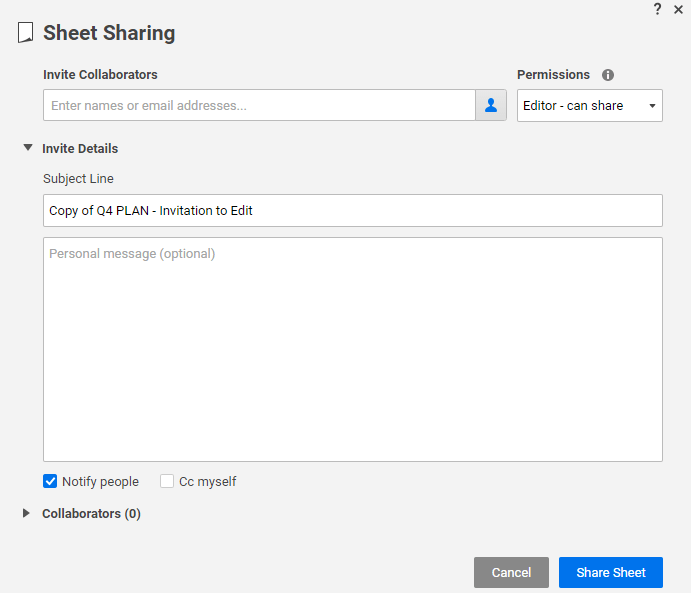
Then the sharing form will appear. If the item in the sheet is not shared with anybody, then the Invite Details option will be seen. With the help of the Invite Details page, we can enable and disable the invitation email, and we can also draft a custom message.
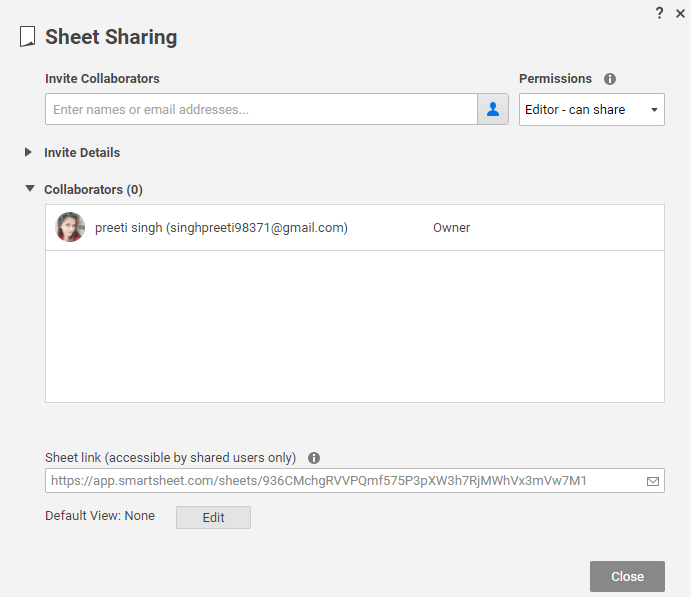
When the sheet is shared with others, then by default, the list of all the existing collaborators will appear.
Step 2. Next, in the Invite Collaborators box, write the email address of those persons which we want to share the sheet. If there are multiple email addresses, then separate them by using semicolon or comma.
Step 3. Then, select the permissions level.
Step 4. Last, we have to click on the share button.
More Sharing Options
In Smartsheet, sometimes there may be situations where we cannot share the Smartsheet items directly, then we have various options:
- Send as Attachment
- Use a Form
- Publish
1. Send as Attachment: - Send as Attachment feature is used when we want to share a PDF or Excel file of a smartsheet item. So, to share a PDF or Excel file, we have to email the file as an attachment with the help of the Send as Attachment feature. By using this feature, we can also share the data of specific rows to the people, if needed.
- Send One or More Rows via Email
There are various steps to send one or more rows via email:- First, we have to click on the drop-down arrow on that row which we want to send or share and then select the send
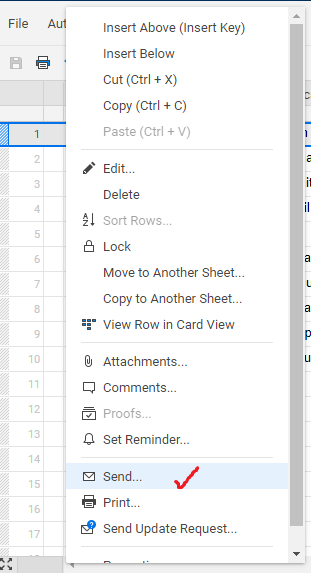
- Then the send form will be displayed.
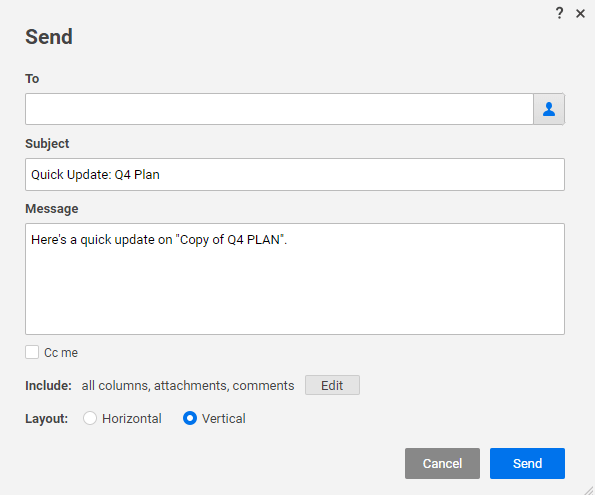
- Next, in the To field, we have to type the email address of the person, with whom we want to share the row information. If we want to share the row information to the multiple email addresses, separate each email address with the help of the semicolon or comma.
- The subject line and message body of the email comprises of the default values. We can also edit it, if needed.
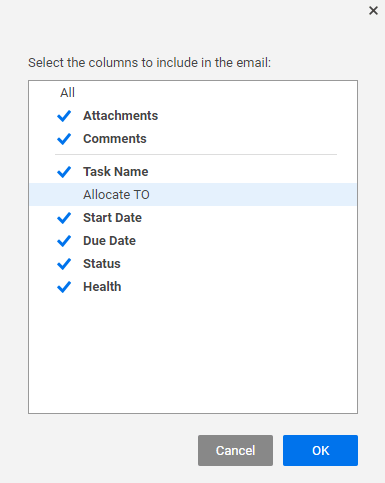
- We use two options customize and layout to specify the fields which we want to include in the email
- First, we have to click on the drop-down arrow on that row which we want to send or share and then select the send
Note: If we want to send a single row, then only the Layout option will be available otherwise not.
If there is any column which we don't want to send, then click on the Edit button and uncheck those columns which we don't want to send.
- If we want to receive a copy of an email, then we have to select the option Cc me.
- Then click on the Send
Send a Sheet as an Email Attachment
If we want to send a snapshot of the sheet, we can easily send it by attaching it as an Excel or PDF file to an email message.
There are various steps to send a sheet as an email attachment:
- First, click on the File and select the option named Send as Attachment.

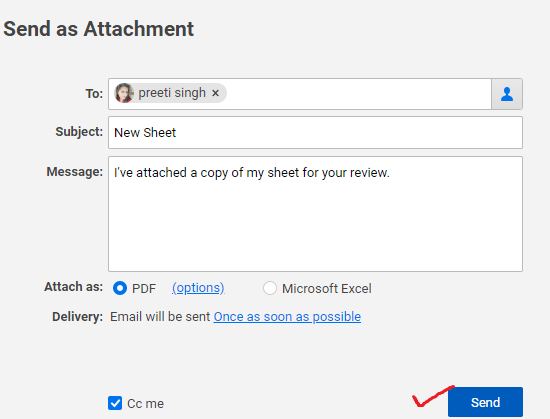
- When we click on the send as attachment option, then the send as attachment form will be displayed.
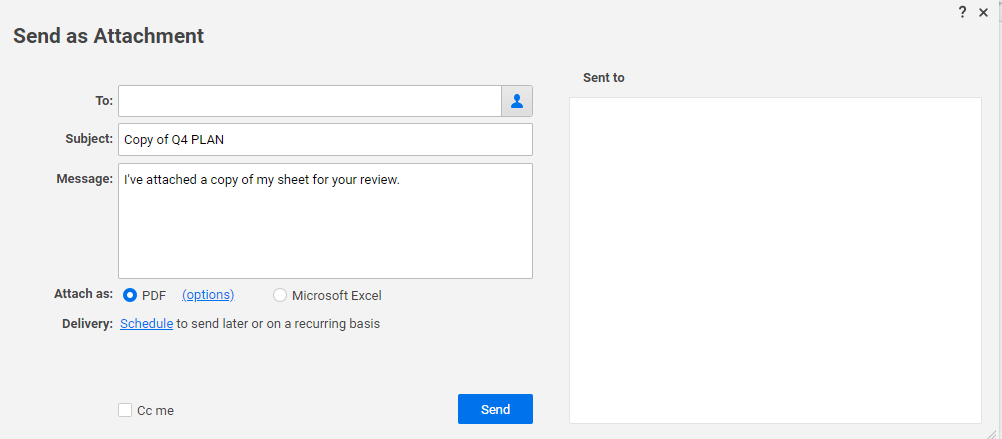
- Next, in the To field, we have to type the email address of the person, with whom we want to share the row information. If we want to share the row information to the multiple email addresses, then separate each email address with the help of the semicolon or comma.
- Then, we have to edit the subject line and the message body if required. If we don't edit it, then by default, the sheet name gets comprised in the subject line.
- Next, select the type of attachment in the attach as option. Attachment can be in Excel or PDF.

- Last, we have to select the option named Delivery to send as attachment email.
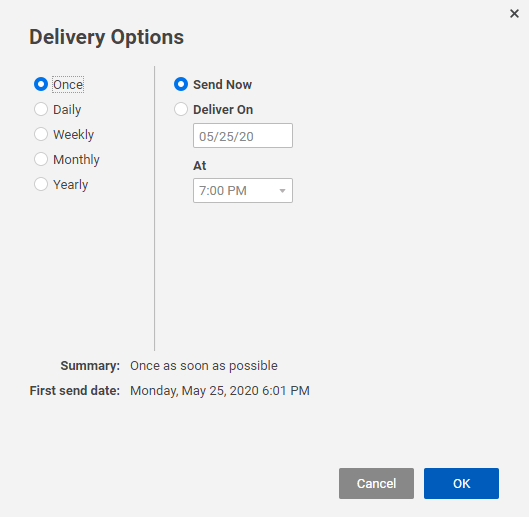
- Then click on the send button.
2. Use a Form: - Use a form option is used when we want to gather information from the people. With the help of forms, we can also add new rows in the sheet on the basis of their submission of forms without having any direct sharing access to the sheet.
- How to Create a Form
There are various steps to create a form:
Step 1. First, open the sheet in which we want to attach a form.
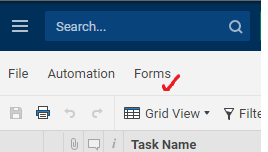
Step 2. Then, on the menu bar, select the option named Forms, which is in the upper-left side of the smartsheet window.
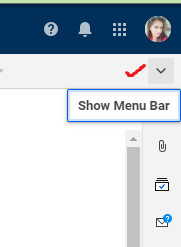
If the form option is not appearing, then select the down-arrow icon, which is present on the upper-right side of the Smartsheet window.
Step 3. Click on the create form option.
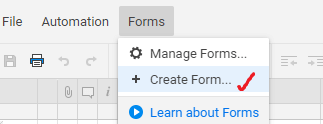
When we create a new form, then all the columns of the sheet are automatically added to the form.
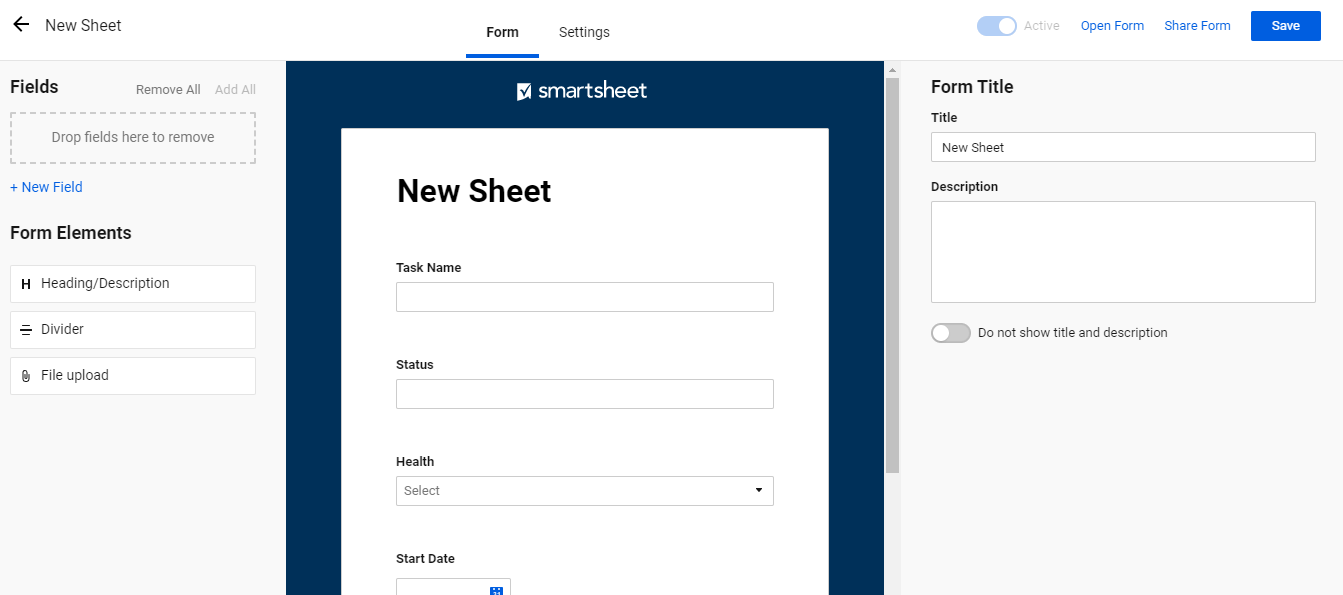
By default, the form title is the same as the name of the sheet. the field in the form is same as the column name in the sheet.
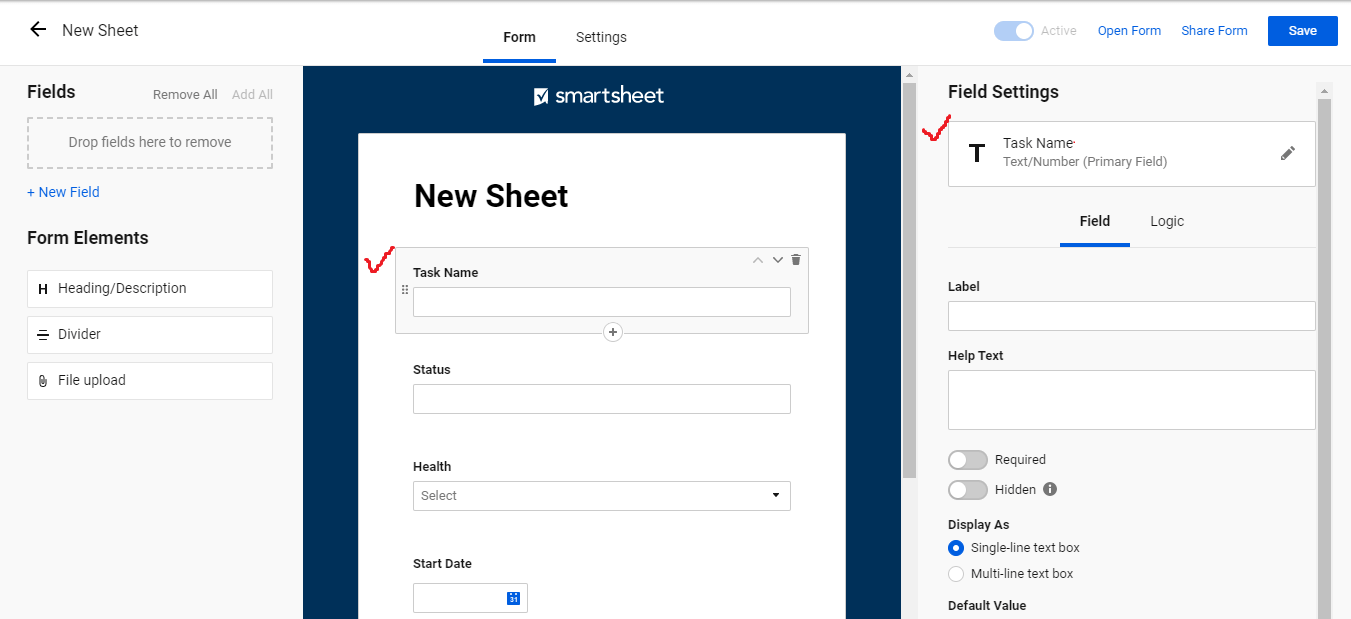
Step 3. Next, we have to choose the element from the center of the form preview to edit the setting of the elements appeared in the right panel.
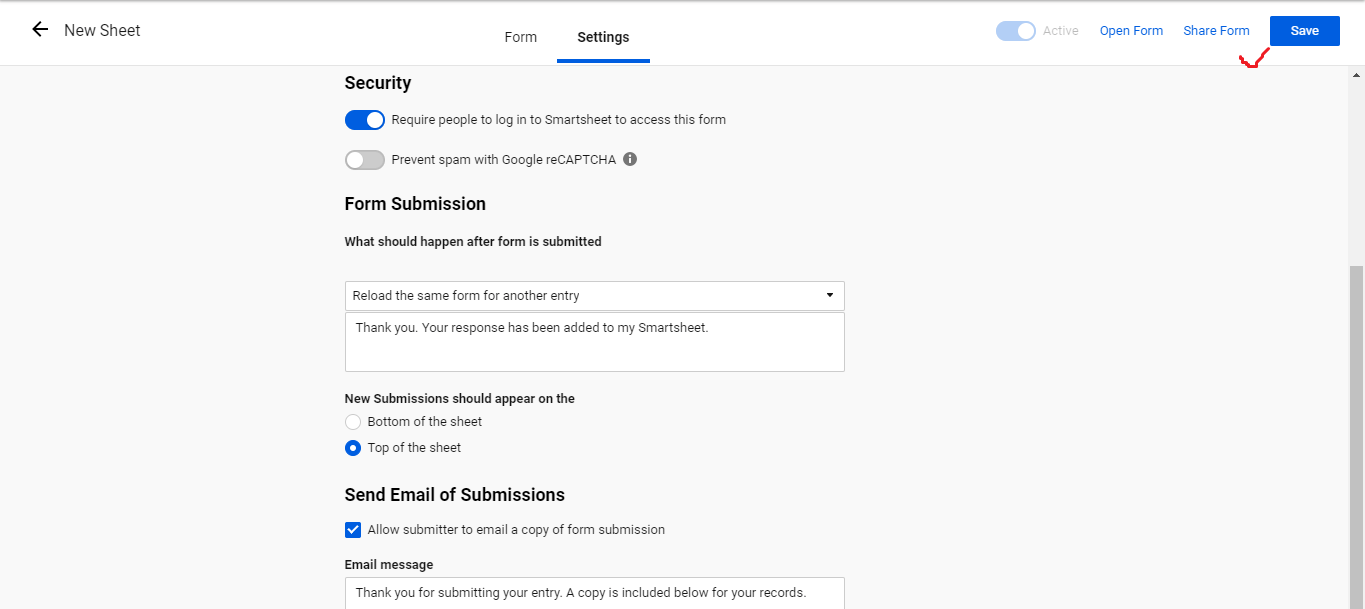
Step 4. If we want to adjust the form-level setting, then we have to click on the Setting option, which is present at the top of the form.

Step 5. When the form settings are finished, then click on the Save button. The save button is on the upper-right side of the form.
Step 6. Next, if we want to preview the form, select Open Form option to check that form configured is correct or not.
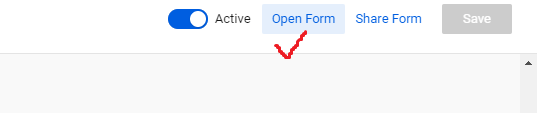
Step 7. Next, if we want to email the form directly, click on the Share Form option. Then copy the link of the form or insert it on a webpage or dashboard.
Step 8. Last, to close the form, select the back arrow and then return back to the sheet.
3. Publish: - In the Smartsheet, there is no need of a Smartsheet account to share a Smartsheet item. With the help of a public link, sharing can be possible.
- How to Publish a Sheet
There are various steps to publish a sheet:- First, click on the Publish Icon so that the publish option is displayed.
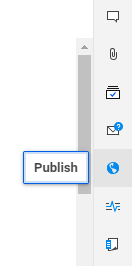
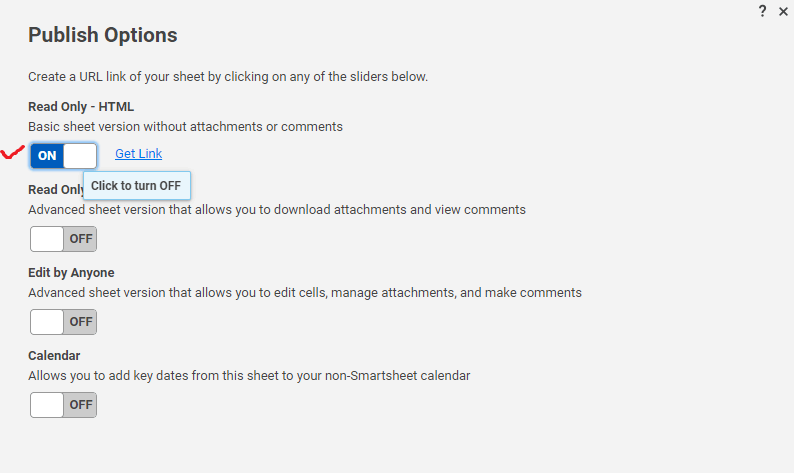
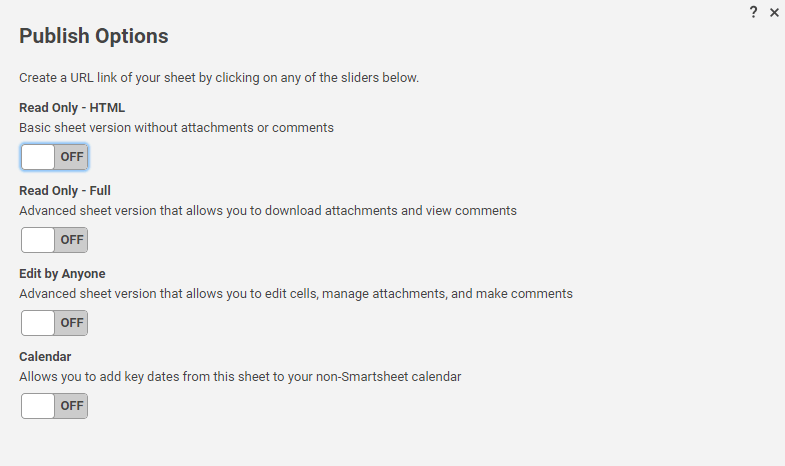
- There are various publish options. So, based on the need, we have to click on the option and set the option ON.
- When based on the need, we set the option ON, then a link of the sheet is created.
There are various options for publishing a sheet:- Read-only Html: - This option offers a read-only view of the sheet. In this option, we cannot switch the calendar view to the Gantt view. In ready only html, comments and attachments are not available.
- Read-Only-Full: - The user interface of read-only-full is richer than the read only-HTML. This option provides the facility of row collapsed, and the user can also open the row comments and attachments.
To control the accessibility of the link, the Access Control option is used. If we want to set the default view to the grid or calendar view, we use the option named Publish Settings. - Edit by Anyone: - This option is suitable for allowing anyone to open the sheet and make the changes, but the changes are only possible if the user has the Edit-Level sharing permissions.
- iCal (Calendar): - By using this option, anyone can add the dates with the help of the non-smartsheet calendar.
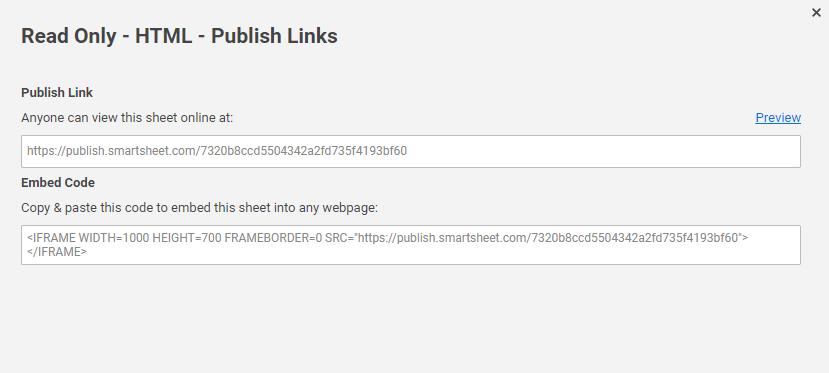
- Next, to share an embedded code and URL of the sheet using the keyboard, URL is copied and then pasted into the webpage or email message.
- First, click on the Publish Icon so that the publish option is displayed.
0 Comments